
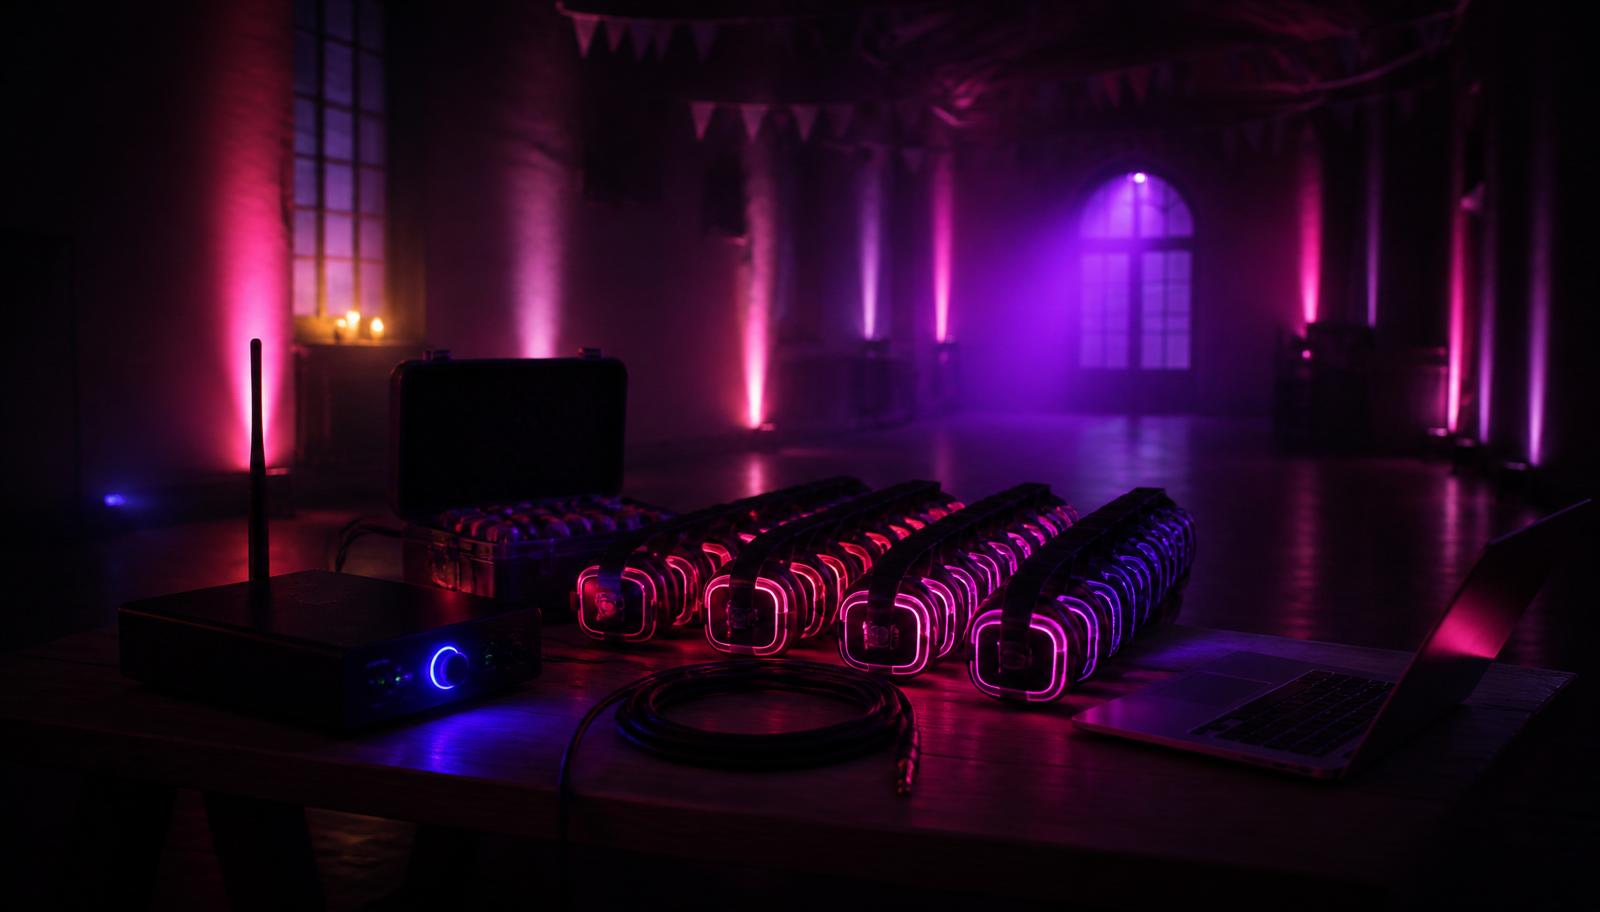
A silent disco looks technical from the outside, but setting one up is genuinely simpler than plugging in a kettle and a TV. There are only three types of kit — a transmitter, the headphones and the charging cases — and everything is plug and play. Most people are up and running in about 15 minutes with no experience at all.
This guide explains the whole process in everyday language, so whether you're a wedding coordinator, a PTA volunteer or someone throwing a 40th in a village hall, you'll know exactly what to do.
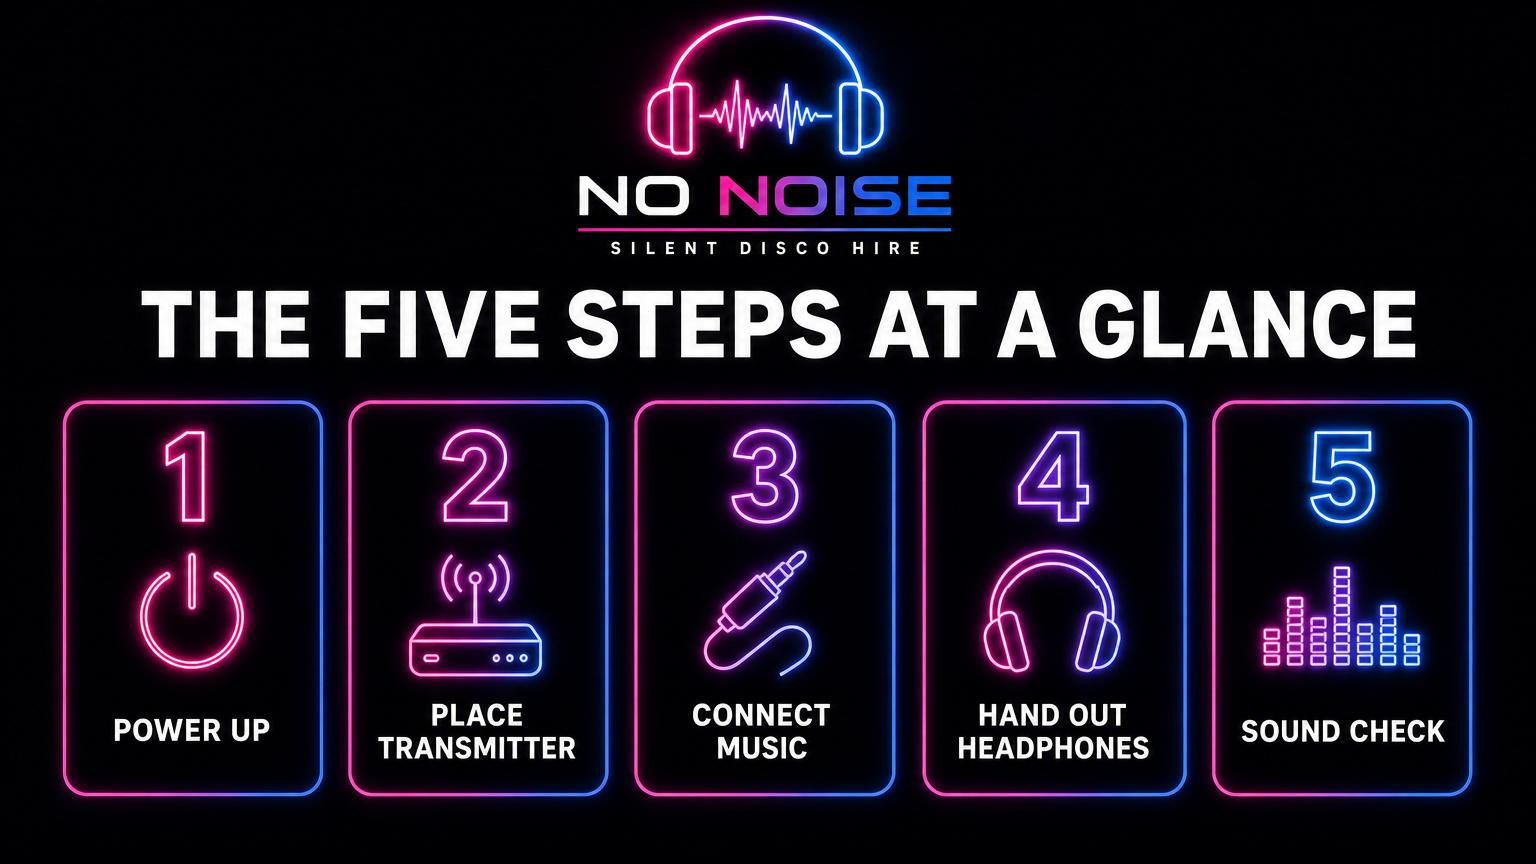
The five steps at a glance
What's actually in the box
- The transmitter — a small black box, about the size of a paperback. It takes your music and broadcasts it wirelessly, a bit like a tiny radio station for the room. Every package includes one, and you can add extra transmitters for £10 each if you want more channels.
- The headphones — wireless LED headphones that glow red, green or blue depending on which channel the wearer has chosen. They're charged and tested before every hire.
- The charging cases — flight cases that both transport and charge the headphones. They double as your handout station on the night.
- Cables — a standard 3.5mm aux cable (the same jack as old-school headphones) plus adaptors for laptops and mixers.
Step 1 — Power
Plug the transmitter into any normal domestic plug socket. That's it. You don't need a generator, three-phase power, or anything a village hall wouldn't already have. The whole system draws less electricity than a couple of table lamps, which is one of the reasons silent disco works so well in barns, marquees and listed buildings.
If you're outdoors, run the transmitter from an extension lead protected by an RCD, and keep the plug and the box itself out of the rain and off wet ground.
Tape any extension leads down with gaffer tape before guests arrive. It takes two minutes and it's the single most common trip hazard at an event.
Step 2 — Place the transmitter
Think of the transmitter like a light bulb: the signal spreads out from it, and anything solid in the way creates a shadow. So put it high up and roughly in the middle of wherever people will dance — a bar top, a table, a windowsill or a speaker stand all work perfectly.
Things to avoid:
- The floor, or under a table (people's bodies absorb the signal).
- Behind a metal fridge, radiator, scaffolding or a stack of chairs.
- Buried inside the flight case with the lid shut.
Keep the aerial pointing upwards. A single transmitter comfortably covers a typical hall, barn or garden — for very long or L-shaped spaces we'll advise you on where to stand it, or supply an extra unit.
Step 3 — Connect your music
Plug one end of the aux cable into the transmitter's input and the other into your phone, laptop, tablet or DJ mixer. If you're using a modern phone with no headphone socket, use the adaptor supplied.
- Set the volume on your device to around 80%. Guests then fine-tune their own level on the headphone.
- Put phones on aeroplane mode or Do Not Disturb so text alerts don't blast through the dancefloor.
- Running more than one channel? Each transmitter needs its own music source — for example one phone for chart hits and one laptop for 80s.
- Download playlists in advance rather than relying on streaming. Rural Devon venues and 4G don't always get along.
If you've booked an on-site operator (£20 per hour), they arrive early, do all of this for you, hand out the headphones, manage the music and pack everything down at the end. Holiday period rates may vary — we'll confirm in your quote.
Step 4 — Hand out the headphones
Set up a simple handout table near the entrance to the dancefloor, with the open charging cases behind it. As each guest collects a headphone, show them three things:
- Power — hold the button for two to three seconds until the lights come on.
- Volume — a wheel or buttons on the ear cup, entirely under their own control.
- Channel — press to switch between colours. Whichever colour is glowing, that's the music they're hearing.
That 20-second demonstration is all the instruction anyone needs. Keep 5–10% spare headphones behind the table so you can swap one instantly if a guest has a problem.
Step 5 — Sound check the room
Before doors open, put a headphone on, turn the music up and walk the entire space — including the far corners, the bar, any outside smoking area and the route to the toilets if people will wander with headphones on.
You're listening for crackle or dropouts. If you hear any at the edges, move the transmitter higher or more central and walk it again. Ninety-nine times out of a hundred that solves it.
Packing down
Pack-down is even quicker than setup, usually 10–15 minutes:
- Collect every headphone before guests leave — station someone at the exit.
- Switch each one off and slot it back into the charging case.
- Put any faulty units in a separate pile and tell us which ones.
- Unplug the transmitter, coil the cables loosely and return them to the case.
Count the headphones back in as you go. It's far easier than chasing three missing sets the morning after.
Setup timings for your running order
- Delivery and setup: allow 30 minutes from arrival to ready.
- Actual kit setup: around 15 minutes.
- Handing out headphones: roughly 5 minutes per 50 guests with two people on the table.
- Pack-down: 10–15 minutes plus collection time.
Still unsure about anything? Read our equipment page for the kit detail, or check availability and we'll talk your venue through with you.